How to keep homemade granola crunchy after baking
· Editorial team houstonnewsdaily24.com
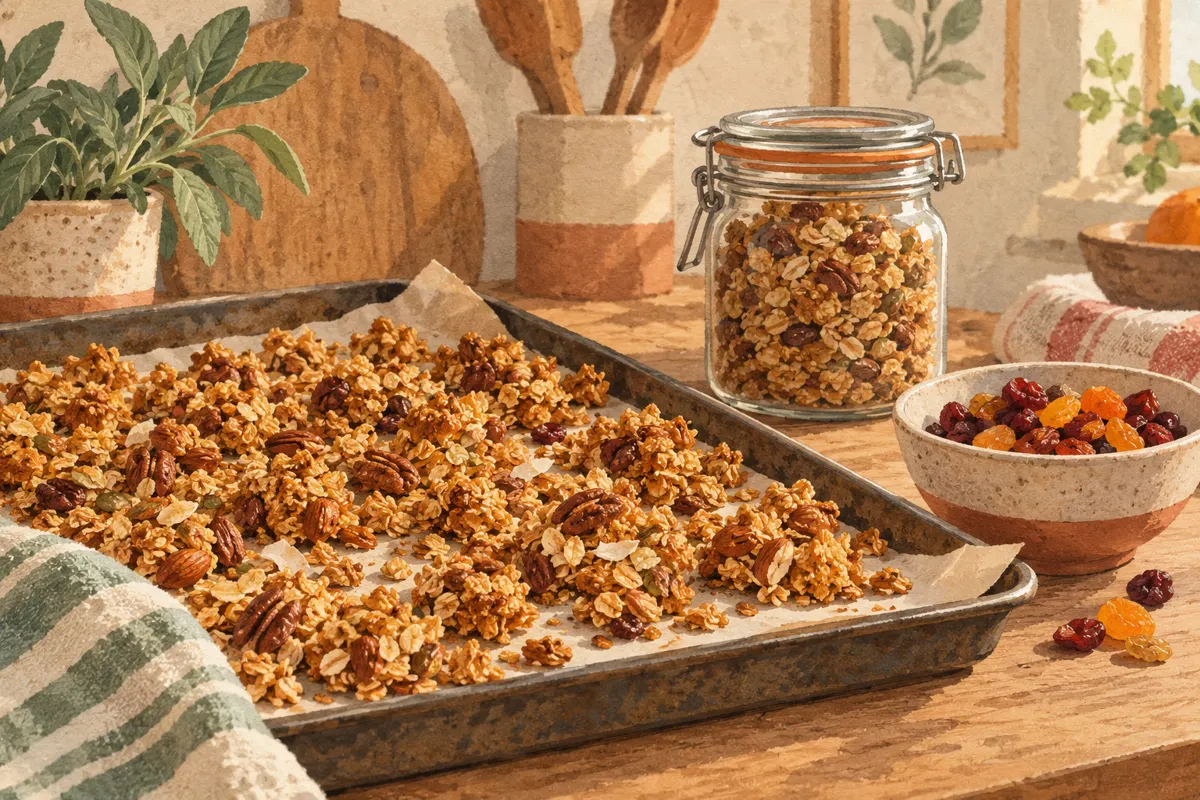
To keep homemade granola crunchy, spread it in a thin, even layer, let it cool completely on the baking sheet, then add dried fruit and transfer it to an airtight container. Give it time to firm up before deciding it needs more baking: warm granola can feel softer than the finished batch.
Spread the granola in an even layer
Crunch starts with how you arrange the mixture before baking. Stir the oats, nuts, and other dry ingredients thoroughly with the recipe’s oil and sweetener, then spread the mixture across a lined baking sheet. Aim for a consistent depth so you do not have thick piles in the center and scattered oats around the edges.
A thin layer should still hold together as a continuous bed of granola. If you want clusters, press it gently but firmly with a spatula to make the surface uniform. The Kitchn recommends this pressing step to help clumps form. Follow your recipe’s stirring instructions during baking, since different recipes are designed for different cluster sizes.
- Line the sheet with parchment paper or a suitable silicone baking mat.
- Spread out any mounds and fill large gaps.
- Keep the depth consistent across the sheet.
- Press the mixture with a spatula if you prefer clusters.
Let cooling finish the crunch
Do not judge the final texture straight from the oven. Granola continues to firm up and form clusters as it cools on the baking sheet. Waiting until every oat feels crisp while it is still hot can lead you to bake it longer than necessary.
Use the timing and visual cues in your recipe together. The supplied maple-and-olive-oil recipe calls for a golden-brown finish, while The Kitchn cautions against waiting for deep browning. Once the batch reaches its intended color, take it out and give it time to cool before assessing the crunch.
For this article’s proposed cooling routine, leave the granola uncovered on its baking sheet until it reaches room temperature throughout. Check the center as well as the edges. If you want larger pieces, leave the pressed layer mostly undisturbed while it sets, then break it into clusters once cool.
Add dried fruit after the batch cools
Keep raisins, dried cranberries, chopped apricots, and other dried fruit out of the initial baking mixture. The Kitchn’s general rule is to add dried fruit after baking. This also makes it easier to judge the baked oat mixture on its own before mixing in chewy ingredients.
A proposed practical sequence is to cool the oat mixture completely, break it into your preferred pieces, and then fold in the fruit. Waiting until this stage gives you a clear checkpoint: the granola should already have the texture you want before the additions go in.
Treat other additions according to your recipe. Coconut and some nuts can brown faster than oats; The Kitchn describes adding pecans and coconut partway through baking. That is a useful reminder to watch delicate ingredients rather than assuming everything needs the same oven time.
Pack it only when completely cool
An airtight container is the storage choice recommended by the supplied crunchy granola recipe. Make packing the final step, after cooling and adding dried fruit. As an editorial proposal for preserving texture, use a clean, dry container and close the lid securely each time you take a serving.
- Check that the whole batch has reached room temperature.
- Break the cooled layer into clusters or loose pieces.
- Fold in dried fruit, if using.
- Transfer the granola to a clean, dry airtight container.
- Close the container promptly after serving.
Avoid treating one recipe’s storage window as a guarantee for every homemade batch. The supplied recipe gives up to two weeks in an airtight container, but your ingredients and recipe may differ. Follow the storage guidance for the recipe you actually made.
Check soft granola before changing the recipe
If the granola seems soft, first check whether it has finished cooling. If the cooled batch is still disappointing, review the preparation: was the layer uniform, was the mixture thoroughly coated, and did you follow the recipe’s baking cues? These checks give you concrete adjustments for the next batch.
Also check the oats and fat. The Kitchn favors old-fashioned rolled oats over quick-cooking oats for texture and advises keeping fat in the mixture. If you changed either ingredient, return to the recipe as written before making further adjustments. Assess crunch only after complete cooling, so each batch gets a fair comparison.